
Begin by making pie dough. I like to use this recipe, but feel free to use whatever recipe you like. When making the dough, here are some helpful hints:
- Make sure the shortening (or butter, if that's what your recipe calls for) is fully chilled. This can be tricky with shortening, because when you get it at the grocery store, its room temperature. You can quickly chill it by sticking it in the freezer. Just don't forget about it!
- Use cold water when preparing the dough. This is so the fat doesn't melt. You need those chunks of shortening/butter to make the pie crust flaky! I usually just get a glass of ice water, then use what I need.
- Chill the dough! The first time I made pie, I chilled it for 30 minutes. It got cold enough, but after a short amount of time it got really sticky and difficult to work with. Now I like to chill the dough for at least and hour and a half. This is easy if you plan ahead! Just make the dough in the morning and pull it out when you're ready to make the pie. That way, the dough is easy to work with.
Okay. Now, after all of that text, time for pictures!
Once the dough is made, roll it into two balls (top and bottom), flatten into discs and throw 'em in the fridge.

Once the dough has chilled for at least 90 minutes, take out disc at a time so the other doesn't get too warm. Now here comes my favourite new trick! Unwrap the dough and place it on a long sheet of plastic wrap, then place another sheet on top and start rolling.

I actually love this trick so much. For one, you have no messy flour-covered surface to clean up, and two, the dough doesn't stick, so once it's rolled out, it's easy to get off the counter and into the pie plate! I take the top layer of plastic off, then flip it, dough side down, into the pie plate. Then I peel off the top layer of plastic because nobody wants that in their pie.

Next, do the same thing with the other half of your dough. Once it's rolled out, put your filling into the prepared pie plate, then top it with the other half. If you want a full crust on the top, just roll the dough as you did with the first half, and flip it the same way.

If you want a lattice pie crust, roll the dough and cut it into eight equal strips. I don't really know how to explain how you weave the lattice, so check out the great step-by-step pictures over on Brown Eyed Baker.

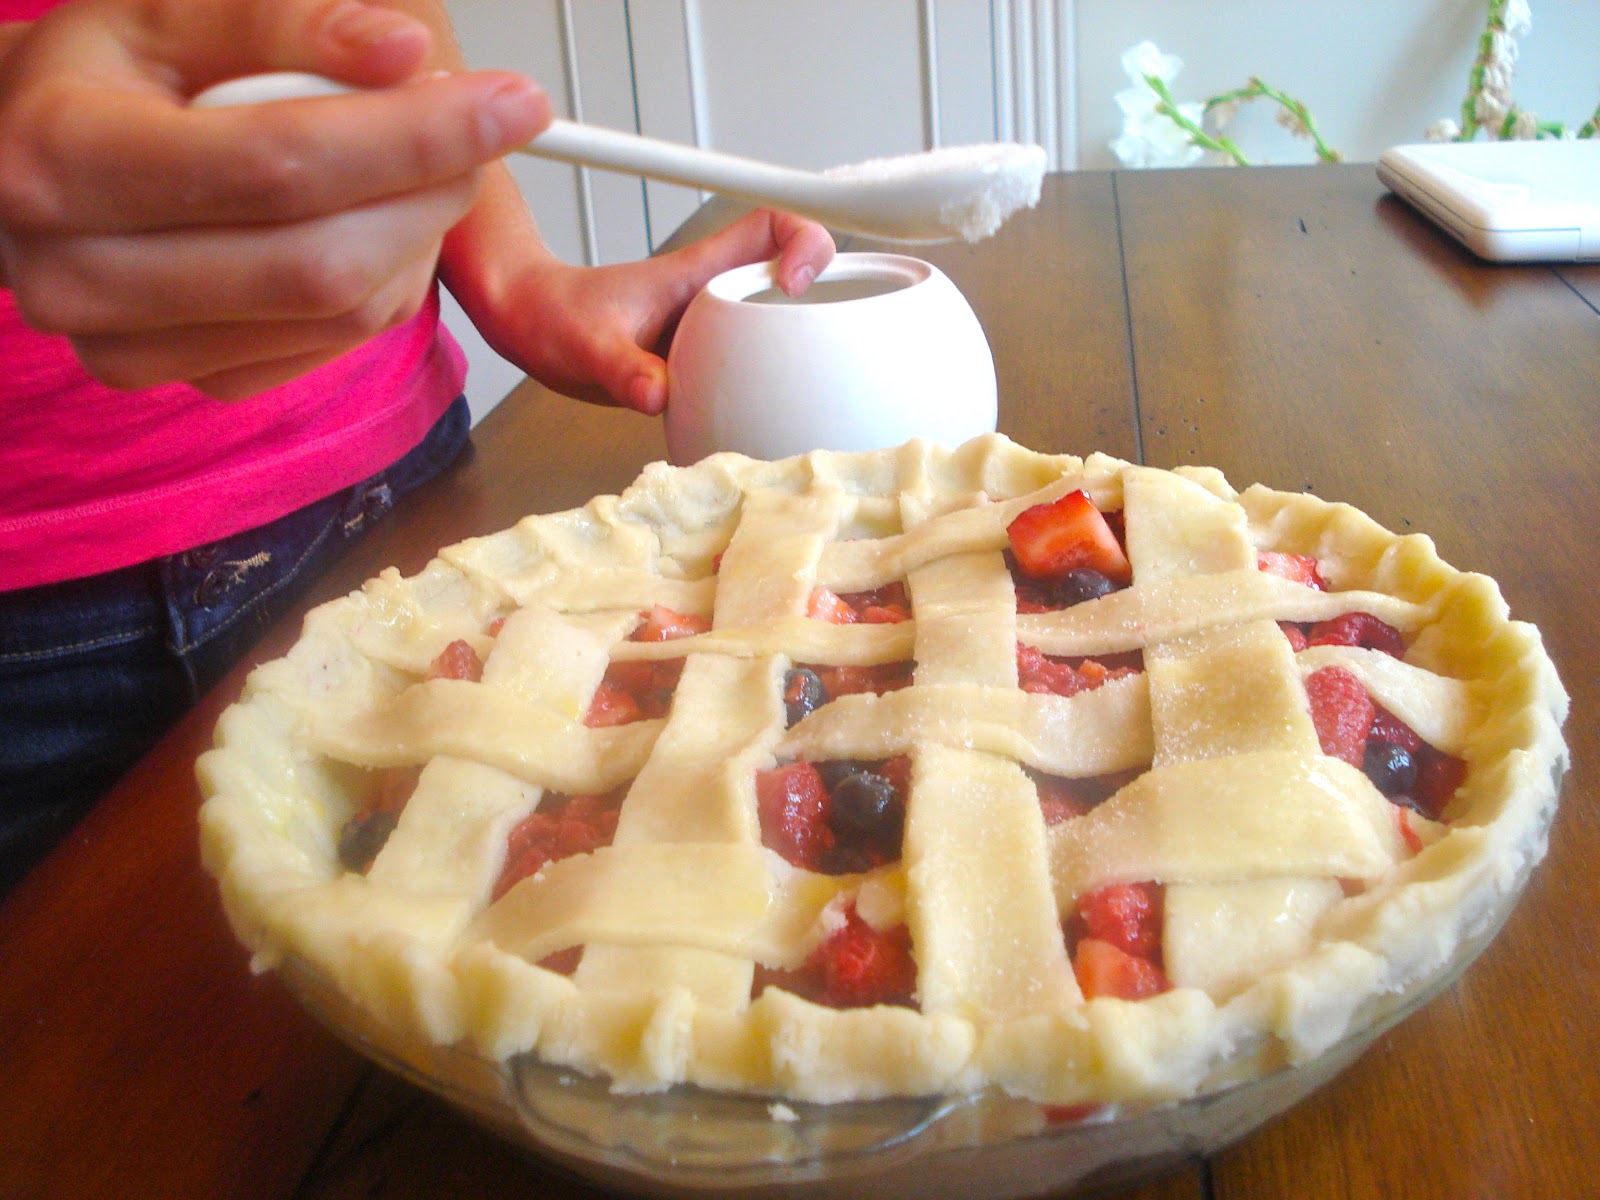
Next, you're going to brush the top of the pie with one beaten egg, then sprinkle the crust with sugar.

Then, pop the pie in the oven according to the recipe's directions, and when you take it out, you will have a beautiful pie!

It looks almost too good to eat...almost.
Comments:
Post a Comment